|
Last updated on Monday 28th of February 2022 08:52:48 PM ©XSIBackup Classic GUI: configuring jobs (part 1) Please note that this post is relative to old deprecated software ©XSIBackup-Classic. Some facts herein contained may still be applicable to more recent versions though. Please note that this post is relative to old deprecated software ©XSIBackup-Classic. Some facts herein contained may still be applicable to more recent versions though.
For new instalations please use new ©XSIBackup which is far more advanced than ©XSIBackup-Classic. Next page >> As you have probably noticed, if you are already using it, ©XSIBackup-Pro Classic 11.0.0 represents quite a new concept when compared with its preceding versions. It is ground breaking, while at the same time, it keeps the initial philosophy behind the concept. We have written, and will continue to write, posts about what has changed. As an excerpt: jobs are now placed as individual files inside the xsi-dir/jobs folder, cron jobs copies are stored in the xsi-dir/conf folder, and the jobs themselves are scheduled in the ESXi crontab. Please, read this to learn how to configure your SSH client to use the GUI. The command line arguments work exactly the same way as before, we have changed nothing. The GUI just generates those commands and places them in the corresponding job file. Note that now the job file is structured into lines, you can edit job files directly, but you must respect its structure ending with a "\" (backslash character).
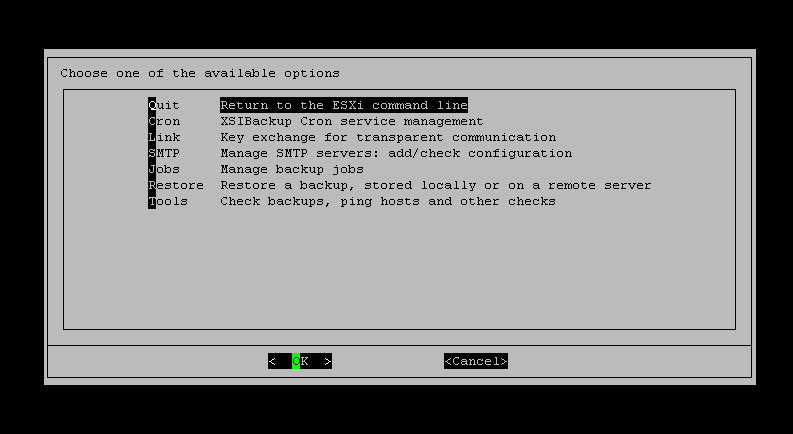
The GUI incorporated in the initial version 11.0.0 package, allows to configure all main arguments by using the built in GUI. Nevertheless, there are still some things, such as disk exclusions or the smart report that require you to edit the job file directly. That will be addressed in next minor updates, so that you don't need to edit files in the future, unless you want to take full control of your jobs to use, Regular Expressions for VM selection or dynamic selection of folders via bash code per instance. So, let's start. first of all you will need to add some SMTP server to receive your backup reports and eventually, link to some other host, in case you want to backup off-site or launch remote jobs. Those two operations are very straight forward and will be required most of the times before configuring your first backup job, so take your time, do that and return to this line once you have performed those two operations. Installing the cron, which will take you just one key stroke, will be required too if you want to schedule your jobs to be run automatically, but that's not essential to configure a job and test it. In fact, you schedule jobs, so you need at least one, before you can add it to the ESXi crontab. Start by choosing the Manage Backup Jobs entry in the main screen of the menu (Figure 1). You will get to this other screen, which is from where all backup job operations are performed (Figure 2).
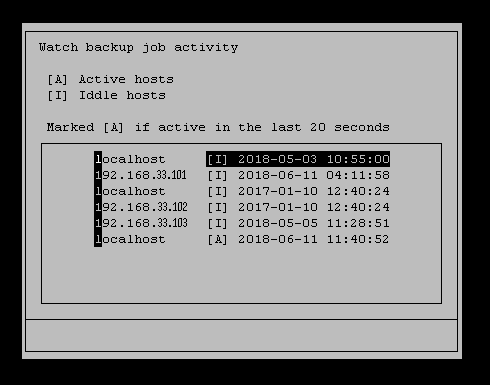
The options you will find in the above screen are self explanatory, we'll nevertheless comment some little things about them. You can Add new backup jobs or Edit some pre-existing one. The actions to take will be exactly the same, with the only difference than when you add a new backup job, all screens are empty, while when you edit one, some options will be prefilled with the current configured value. The Schedule entry, will allow you to manage all options related to adding and removing backup jobs from the crontab. We will dedicate a post to it. Run jobs and Watch jobs are some somewhat related options. The former allows to just choose a job, run it and watch its output as it evolves in a GUI window. You can get out of that container where the output is scrolling at any time, that will not stop the job. If you then return to the Watch menu entry (Figure 3), you will see a list of the local stored jobs, along with a mark [I(iddle)|A(active)].
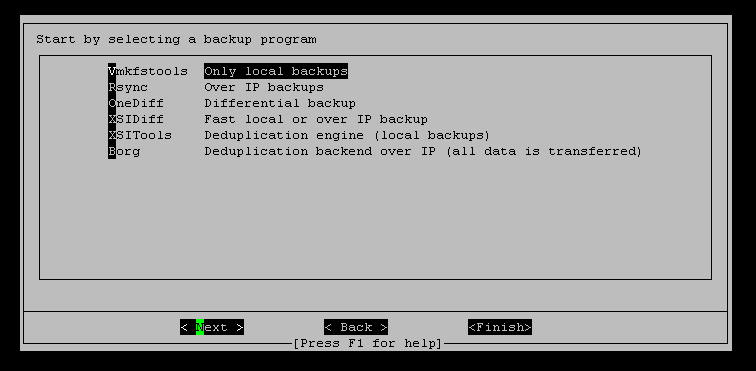
Add your first backup job For this brief preliminary job configuration, we are going to choose the more straight type of backup jobs, which is a Vmkfstools job run locally. So choose Vmkfstools when being at the first screen in the backup job creation process (Figure 4).
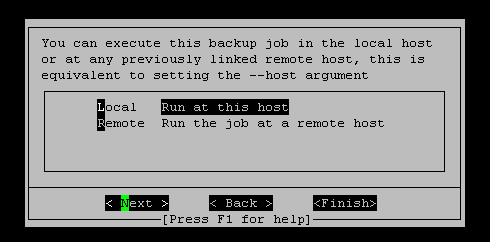
Choose Local in following screen (Figure 5).
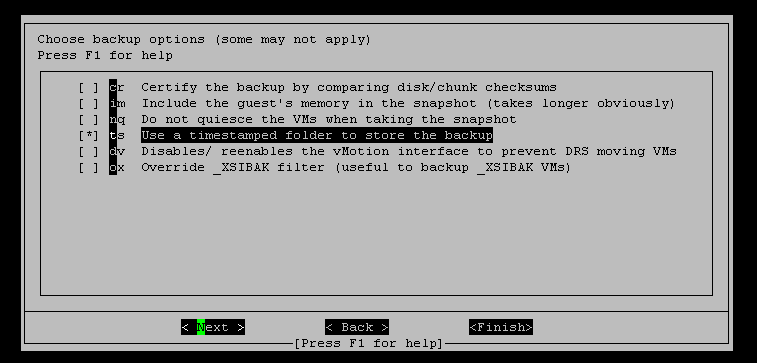
Next screen is a list of options available for the chosen backup program. The most used one, that you most probably wnat to choose, as it's almost inherent to any kind of complete local backup is Use a timestamped folder to store the backup
Next page >> |


|
Login • Available in: